Fedora Linux Installation
Selecting and installing an operation system.
So far during this week, I have firstly been selecting and then installing two operating systems with all their needed services including ( applications, Network services and a development environments ).
My last post showed an outline structure for this project and its installation.
Selecting an operating system to use on a single-board or development-board computer has some slightly different factors than on a ( server or desktop/laptop ) system, including the following :
1.. Operating systems (OS’s) availability
2.. OS standard requirements, features and services
3.. Physical location of the OS (Nand/Card or disk memory)
4.. Method of installing the OS Packages
5.. OS support, lifespan and upgrade options
6.. Software availability and type of application repository
With both the Raspberry pi and Cubietruck systems, OEM support is provided completely online as delivered you will find no disks with included software and no printed material. To be honest it is most likely that you will only purchased these systems by reading detailed information online, so in any-case you will have already found all the needed links for support along with downloads.
The Link to the OS downloads for the Raspberry pi is (“OS Downloads“) and the Link to the OS downloads for the Cubietruck is (“OS Downloads“).
There is a very clear difference between the two manufactures websites here and their support, The Respberry Pi foundation have a excellent web site with all the needed Instructions for operating system installation with a great Video. The Cubieboard.org website is aimed at a higher technical level and you will have to dig deeper to get all the installation and support details.
Before I go into what is available and the OS systems I have selected to install its worth noting that both of these systems install there operating systems in a different way than you would install an OS on a (Server, desktop or Laptop) computer. On these three types of systems you install from a storage device or over the network by running an installation application. This application us used mainly to detect what type of hardware your system contains and then by unpacking and installing the correct driver software it installs a version of the OS that will work for you on your system.
With the Raspberry Pi/ Cubietruck and other single board computers including tablets and phones, the OS’s are usually per-delivered in the form of an image file that is packaged with the hardware drives that only match the device you intend to install the OS on. Installation then is only really a process of copying and then unpacking the files onto the device in the defined directory structure. If you are prompted for any details it is usually only related to the language you are using and the matching keyboard type along with your required time zone details.
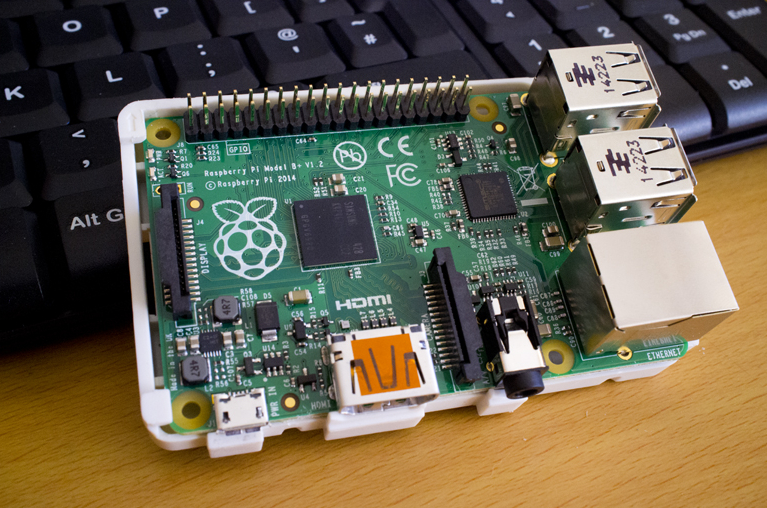
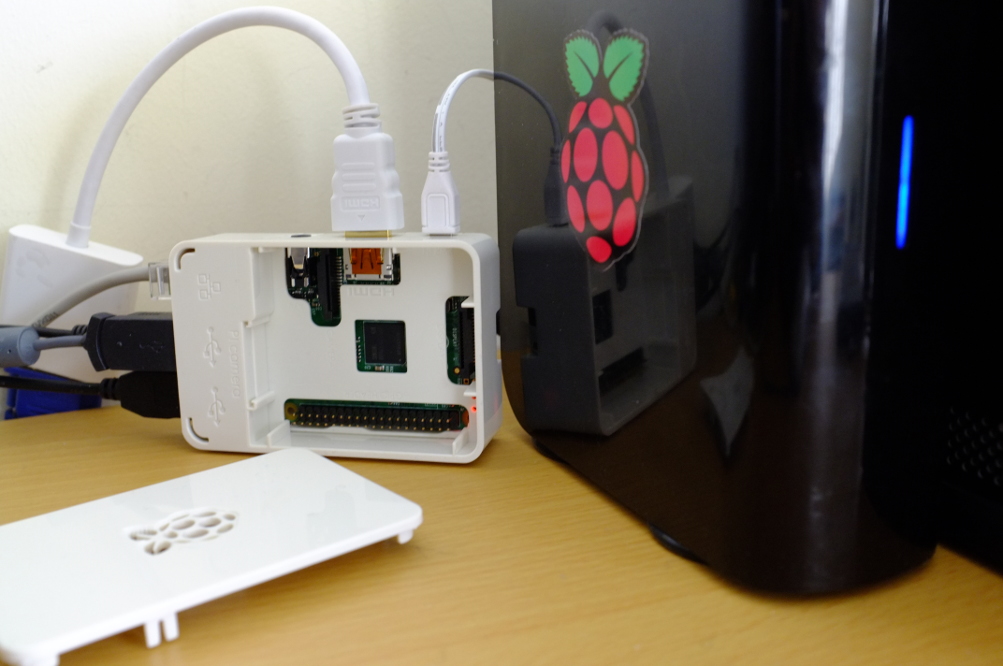
Raspberry pi OS Installation
The following operating systems are available for the Raspberry pi boards :
Raspbian (Linux), The recommended OS installation as it includes all needed services including access services to programming the GPIO pins
Pidora(Linux), a version of Fedora Linux which is an industrially supported Linux implementation.
Openelec, A Media centric version of Linux, that can be used with you TV system.
Raspbmc, Raspberry pi foundation’s own media centric system
Risc OS, Back to the 80’s and 90’s Risc-OS is the OS that was installed on the original ARM processor systems.
The Rasberry Pi B+, uses a Micro SD card to store its operating system on and you are recommended to use the following software to format a card before you install a OS onto it.
You have two main options following this step:
Install NOOBS – which contains all the files to allow you to install one or more OS’s onto the SD card in a single or dual boot format.
or
Download a single OS file from the link to the download page I showed above and install this onto the formatted SD card.
To ready the SD card with the OS image you use :
After you copy the OS to the disk and boot the Raspberry pi system you will be asked for some details such as you language / time zone and services such as SSH that you may want to start at boot, if you installed NOOBS you will be asked which OS or OS’s you would like to install. When these processes are finished the Micro SD card will be configured to boot your OS/OS’s with your local language setting and the Linux services you set to automatically start.
As I want to use the Raspberry pi to develop hardware related applications, I have selected Raspbian, a version of Debian Linux with access to all the same applications as in the Ubuntu Linux repository. As I uses Ubuntu Linux, Version 14.04 as my main laptop and desktop operating systems, personally I found this a great choice.
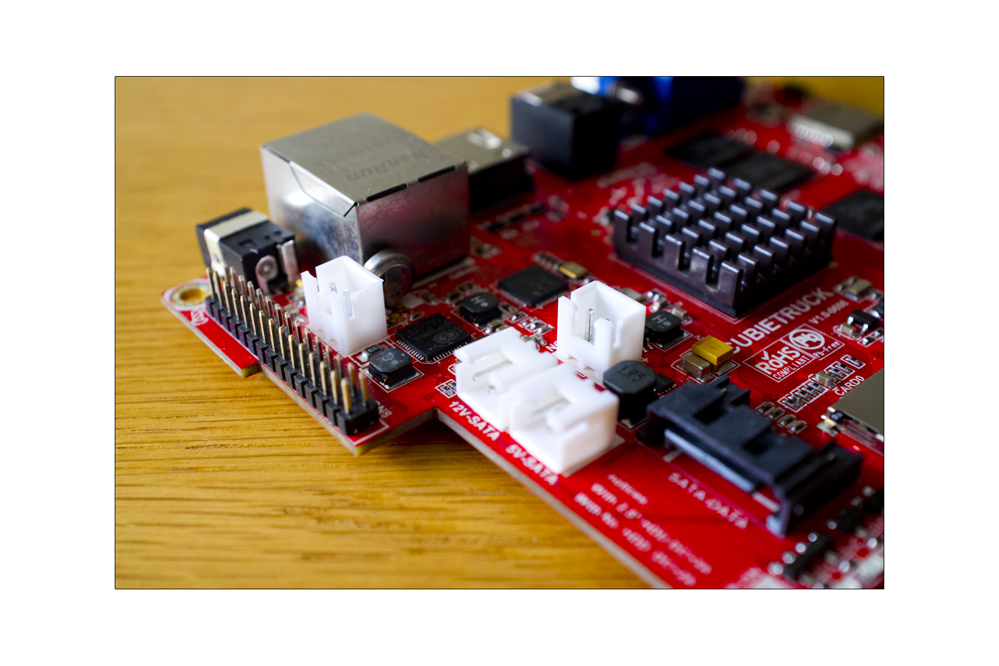
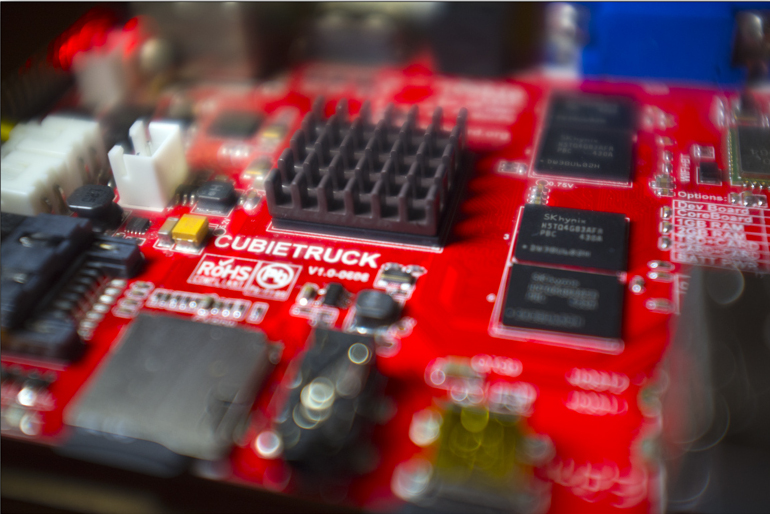
Cubietruck OS Installation
The list of available OS’s for the Cubie truck is as follows :
Android, Comes already installed onto the embedded 8gb Nand drive, It is not however the latest of best version of Android. It is however rooted.
Archlinux, A version of Linux that is server based and as such come with no GUI Desktop system, you can however install one such as LXDE post installation.
Cubian X1, This is the Version of Linux that Cubieboard themselves are developing and as such offers full system support for hardware including services and drivers for programming the GPIO hardware.
Debian, The core Debian Lunix OS, only recommended if you are a purist and just want the core system from which many versions of Linux derive there source from, however it is tailored for the Cubietruck here, but why not use Cubian X1 OS ?
Fedora/, Full version of Fedora Linux using the XFCE desktop in this version, as its a little less demanding on the system resources. It is a full version of Fedora (Based on Red-hat Linux) and as such highly recommended.
Lubuntu/, A version of Ubuntu Linux with the LXDE desktop manager, this is an older version and apart from security updates is no longer being maintained by Ubuntu – it is however tailored for the Cubietruck system.
Ubuntu-desktop/, A full version of Ubuntu Linux 12.04LTS with the Unity desktop, supported until 2017, has full Cubietruck GPIO support. It has the Unity desktop and full access to the Ubuntu software centre.
As this entire project is an educational and training process for myself I will Install Fedora Linux on my model of the Cubietruck, Fedora is a version of Red-hat Linux an Industrially used platform and I want to be familiar with both the Debian and Red-hat stables of the Linux OS. To be honest their is not to much difference these days apart from the way the systems support their software and updates and one or two different commands and system services but I still want to be able to use both versions.
I have noted that Fedora does not have build in support for the SUNXI GPIO pins provided in the cubietruck but in this project I will be using the Raspberry pi for this and using the Cubietruck for Application development, training and documentation along with general studies such as Shell scripting and Assembley/Gforth and C++ language training.
Cubietruck OS installation
Like the Raspberry Pi you use a software application to install the OS to the system these apps can be found here and include a Win32/64 or Linux version, you will have to install some drivers for the software to work.
I have found that even then the included instructions are not fully correct for working with the Cubietruck but if you persist it does work !
You will find all the OS installation support documentation at this location, Cubietruck tutorials
You need to read all instruction here and there is just to much to detail every option in this post, I will just add the following comments :
… I have noted that these documents do not cover all available OS versions, if you want to install an OS however that is not covered, then do a web search , I have found lots of other sources in different blogs. Its hard to damage the Cubie-truck so if something goes wrong just start over.
…. I have found that there are three main system locations you can install an OS on (Nand Memory, SD cards and these to along with an SATA hard drive used for the root file system), you will have to check which OS’s install to which media from the links to the tutorials. The Image file names themselves usually include (*Nand* or *Card*) as a part of the file name for identification.
…. Its worth noting that the Install tools only apply to installing the OS on the systems 8Gb Nand flash drive, If you are installing the OS to a Micro sd and/or include an SATA hard disk in your installation then the tutorial files will show you how to use the Linux DD command to perform the install including moving the default location of /root by editing the system files and then using FDISK and DD to move the file system.
In my next post I will talk about how I have configured my selected OS’s and a little about the needed services….