

This week I received and installed one of the final elements for my Raspberry pi 3 project , a 7 inch LCD touch screen from Waveshare.com , this is a great addition to my Raspberry pi hardware. it can also be used with the Radxa Rock and Odriod development boards along as an additional HDMI Touch screen on a laptop or desktop.
My main aim for this additional device is to free up the Raspberry pi 3 from my main PC monitor and also allow my Raspberry PI 3 to be used for stand alone applications such as a network monitor or as a web server, in both cases using the screen to output monitoring information.
One of the great things about the Raspberry Pi is that because it uses the Linux OS, you can very easily using SSH or VNC connect to it remotely, I still intend to do this even with this screen. The screen however provides the additional ability to turn the PI into a stand alone workstation that can be used for many new and valuable projects. If you added a 5v 2.5amp battery pack you could even uses the Pi (B+,2 and 3) outside in the field in such projects as the PI weather station as a mobile PI.
Below I show how to assemble this unit with some example uses and configurations …..
Assembly
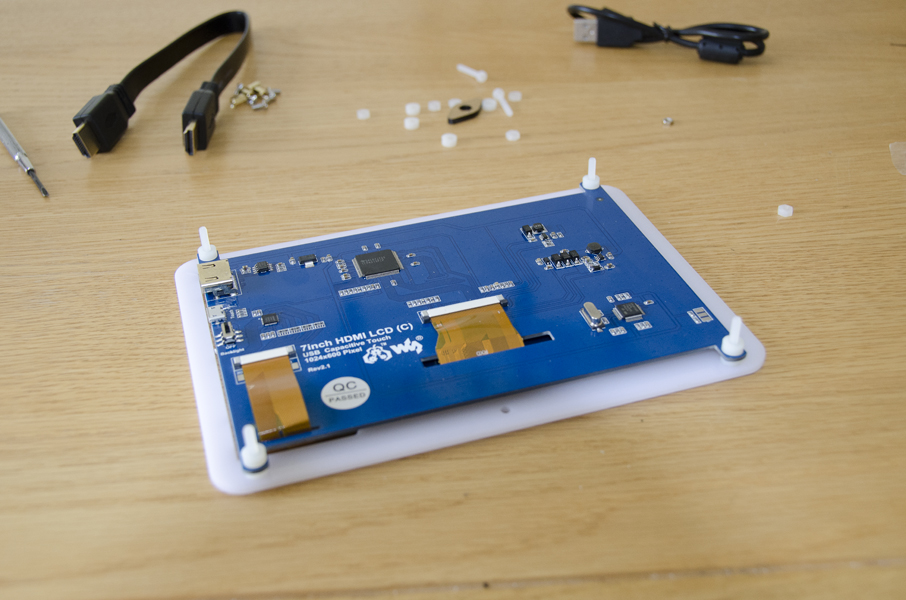
The case for the 7 inch screen comes protected with a sticky paper covering that needs to be removed my damping/wetting it in hot water and then pealing it away from the plastic with your fingers.


For my own installation I am using a stackable raspberry Pi(B+, 2 and 3) case that allows its bottom layer to be screwed to the back of the LCD case as you can see here.
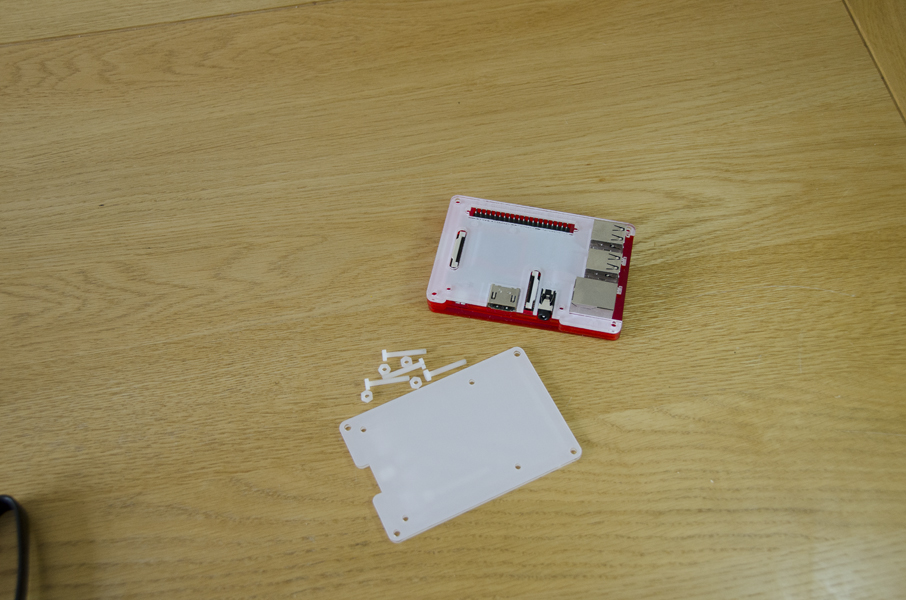

You attach the provided metal connectors to the back of the screen cover and then screw on the bottom layer of the Raspberry Pi case.


You can see here that the Raspberry pi 3 attaches very cleanly to the back of the screen case.

The next task is to attach the LCD panel and front cover to the back case element along with the previously attached Raspberry Pi.


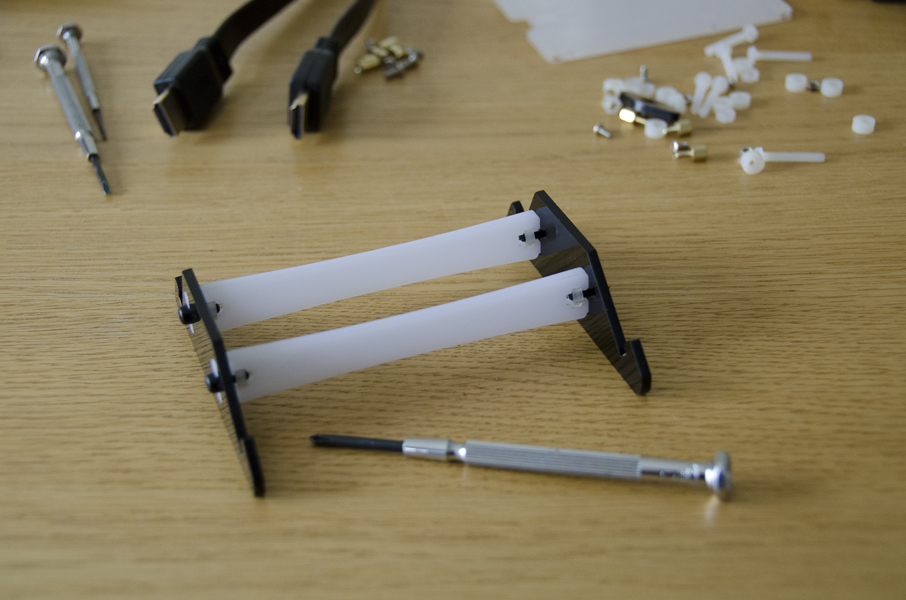
When this is completed , you need to assemble the included stand and attach the HDMI cable along with the USB to OTG cable that enables the touch screen ability.

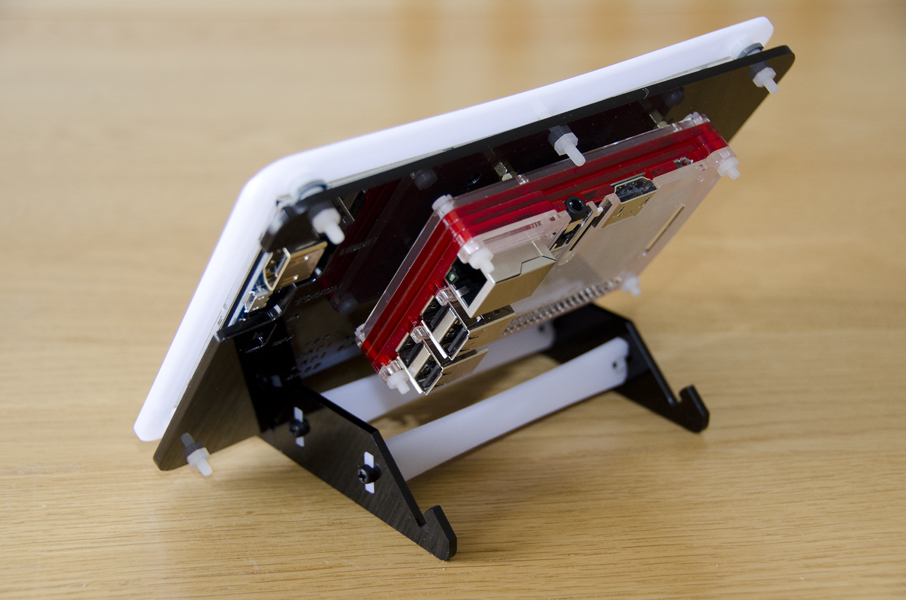
You can see from the two images below just how the finished configuration looks.

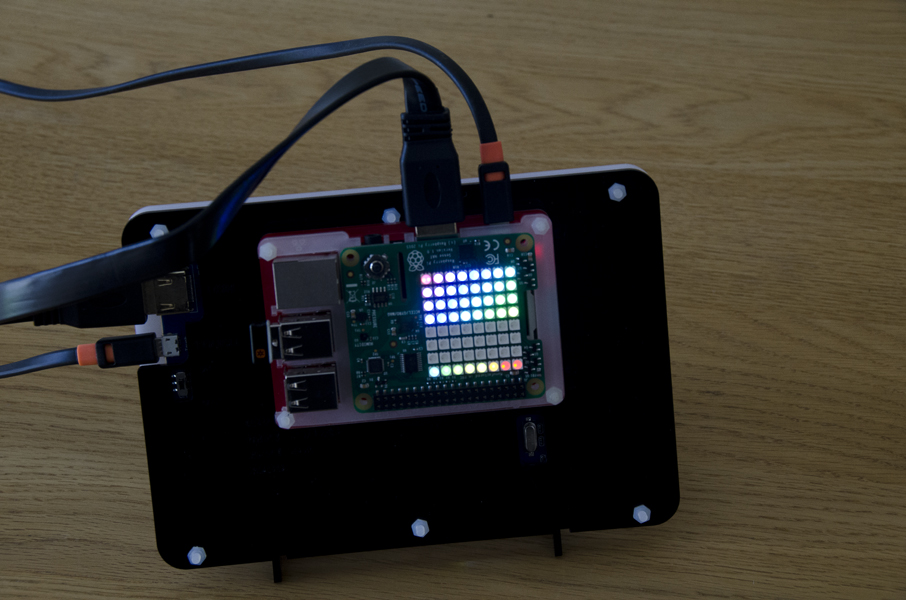
A final great use for this case and LCD screen, if reversed on its stand – it to allow you to use many Raspberry Pi HAT boards such as here with the Sense-HAT and get safe and clear access to them.
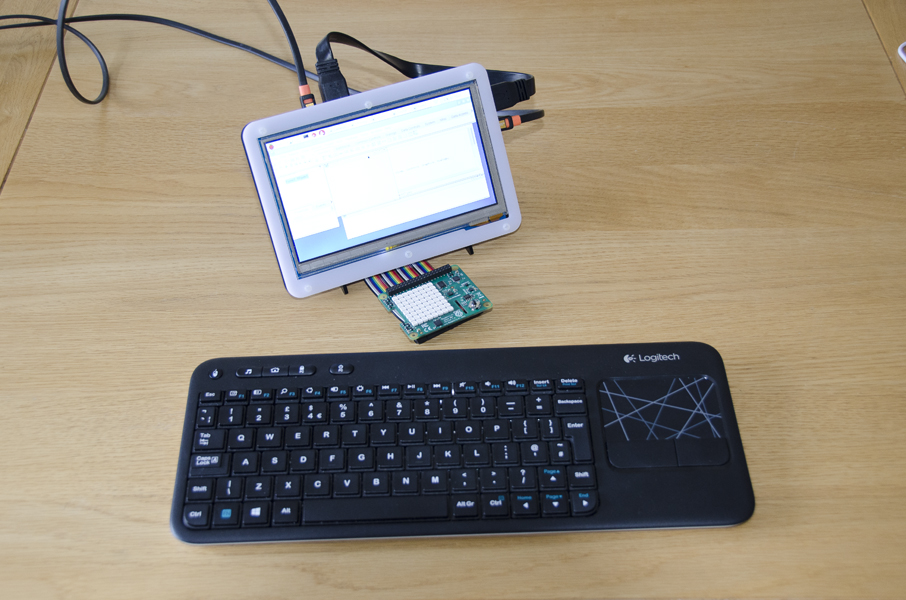
You can also very easily connect to a development breadboard by attaching a 40pin ribbon cable to the GPIO pins on the PI, this cable routes very well under the screen stand for great access.

I am very pleased with this screen , it both provides a very tidy setup and stand-alone control for my new Raspberry PI 3. This will allow me to move my Pi anywhere with the addition of a battery pack it will even let me work on some outside projects. I am looking forward very much to the extra abilities it has now provided!
OH! and it works very well, the screen is bright and very clear and the touch control is perfect!!!!
