

Linux GPIO control
Please note that this post follows on from : GPIO Part 1 :ARM Development boards and their low-level coding Data-sheets
This post is part 2 of A Look at how development boards such as the Raspberry PI allow a developer to code applications that control external hardware, through the systems GPIO header ports using the built in GPIO cpu interfaces, included on many ARM “SOC” CPU’s.
Different versions of the Linux Operating system are configured to control the GPIO ports, via device interfaces controlled within the system Kernel. The operating system itself can be used via shell scripts to control the status of the GPIO input and output pins.
GPIO enabled versions of Linux for the Raspberry Pi and other boards such as the Radxa rock and Odroid, use a device file structure in the /sys/…. file systems to pass read and write (input and output) signals to the kernels GPIO virtual devices, shell commands can be designed within a shell script.
Different versions of Linux for different development boards, have differences in how they are configured but the effects of the coding outcome are identical !
The two below screen shots are from a Raspberry-Pi 3 and then from an Odroid U2 board.

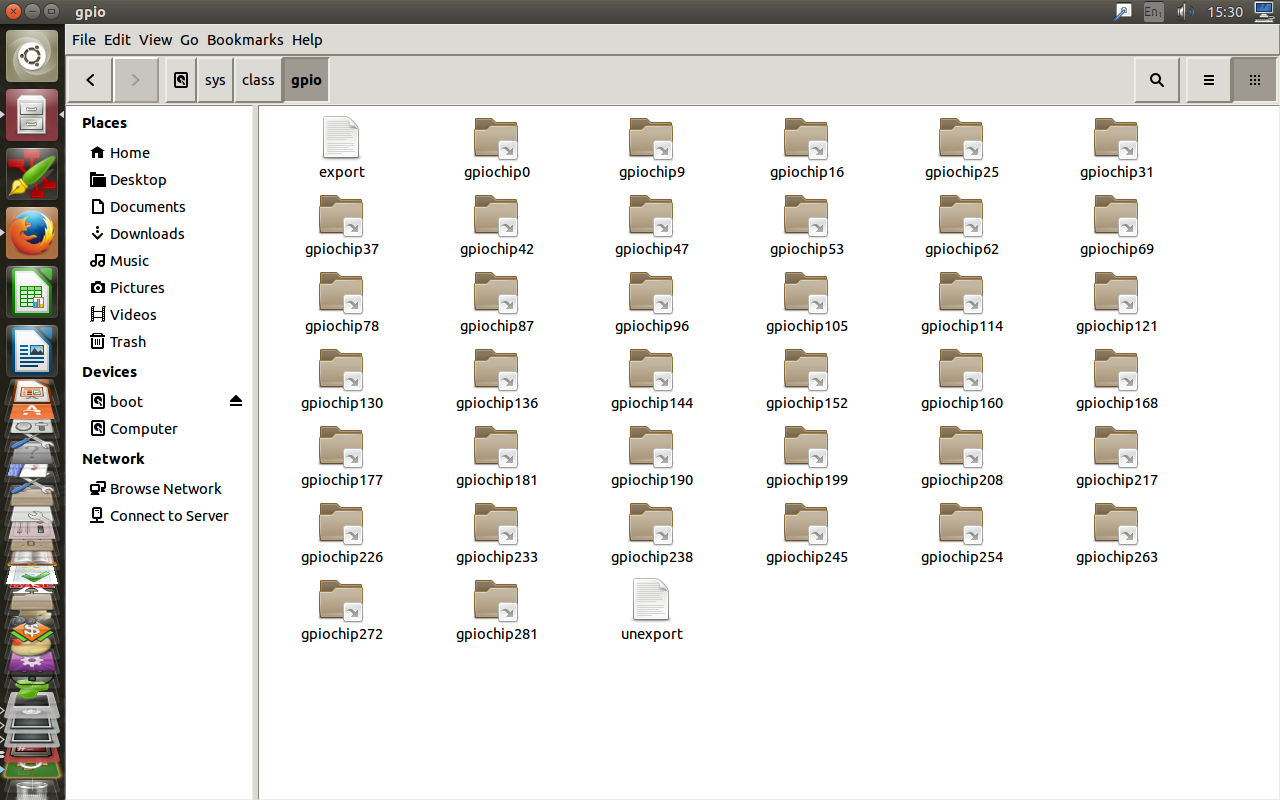
/sys/class/gpio on a raspberry pi 3
/sys/class/gpio folder in an Odroid U2
You can clearly see that the folder on the ODROID system contains a lot more GPIO device folders as default, on the Raspberry pi it is not until you enable I/O on a GPIO pin number that the folder for that pin number is created and then deleted again once the pin is disabled.
The following is an example BASH shell script used to control GPIO pin Num 4 as output and Num 7 as Input.
I have added comments to this script so that you can follow the processes it is performing.
————————————————————-
#!/bin/sh
# GPIO numbers should be from this list
# 0, 1, 4, 7, 8, 9, 10, 11, 14, 15, 17, 18, 21, 22, 23, 24, 25
# Note that the GPIO numbers that you program here refer to the pins
# of the BCM2835 and *not* the numbers on the pin header.
# So, if you want to activate GPIO7 on the header you should be
# using GPIO4 in this script. Likewise if you want to activate GPIO0
# on the header you should be using GPIO17 here.
#
# The file /sys/class/gpio/export is used to define which GPIO pins are enabled,
# likewise the file /sys/class/gpio/unexport is used to disable these pins again.
#
# In order to define the direction a GPIO pin is going to be used for
# (Input or Output) you echo “out” or “in” to a file created in the GPIO pins
# folder named “direction”.
#
#
# Set up GPIO 4 and set to output
#
echo “4” > /sys/class/gpio/export
echo “out” > /sys/class/gpio/gpio4/direction
# Set up GPIO 7 and set to input
#
echo “7” > /sys/class/gpio/export
echo “in” > /sys/class/gpio/gpio7/direction
# In order to Write output or turn on the GPIO pin you
# echo a “1” to the file /sys/class/gpio/gpio(X)/value
#
echo “1” > /sys/class/gpio/gpio4/value
# In order to read input or a signal from a GPIO pin you
# cat /sys/class/gpio/gpio(X)/value to the screen or to
# a shell variable to tested later.
#
cat /sys/class/gpio/gpio7/value
# It is important to clean up the status of the pins
# as you do not want to leave pins active with a positive current !
#
echo “4” > /sys/class/gpio/unexport
echo “7” > /sys/class/gpio/unexport
————————————————————-
NB : As you can see from the GPIO folders listings above the file owner in many installations is ROOT/SU, so in many cases you will have to use the following methods to perform the above operations.
echo “1” |sudo tee /sys/class/gpio/export
sudo sh -c ‘echo “1” > /sys/class/gpio/export’
Both methods work, the other option is to take ownership of the objects within the /sys/class/gpio folder, this however will not work on many systems as the folders are created and removed, with root permissions during the script processing, thus setting permissions before execution is not possible.
As a final note in this post, you should be aware that using Shell scripts at OS level like the one above, is the method selected by programming languages that do not have the ability to address GPIO control themselves. So long as these languages can call external OS shell scripts, then they can still be utilised to control external hardware.
———————————-
The following posts that relate to GPIO coding will cover the following areas.
I want to construct a full review (that will involve more than one post!) of all available GPIO enabled programming languages starting with Python and followed by languages such as C++ and Java. I have found in the Radxa rock and some Raspberry Pi documentation that included coding examples, only involve – as I said above, opening and closing the related operating system files. To do this is most likely very slow and inefficient and also has the drawback of not producing stand-alone code. While this kind of code is more than ok for testing purposes ! why not work with the final aim of your code being fast and also having the ability to run itself in such away that it can be loaded in any environment with or without needing a particular OS or even one at all !!
